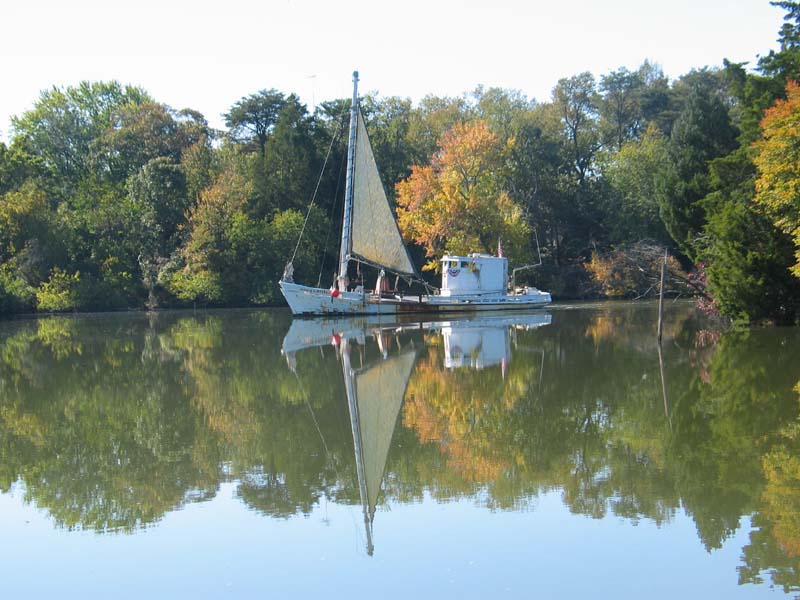
| Here's Maggie, comin round the bend for to get a new sprit and she is excited to be back! |
 |
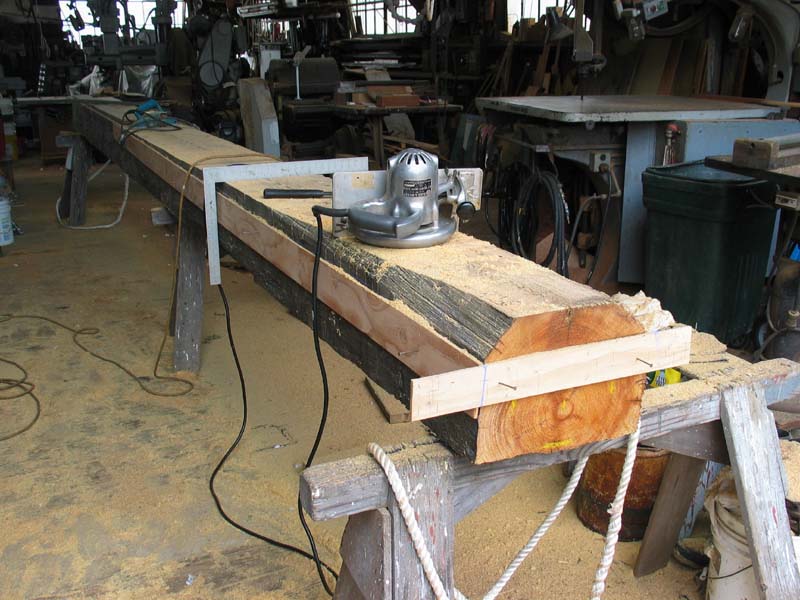 |
The first step to making a bowsprit is looking at the chunk of wood and deciding what to save. In the beginning its just a big piece of wood, but there is a beautiful bowsprit in there somewhere, Pop just has to find it... |
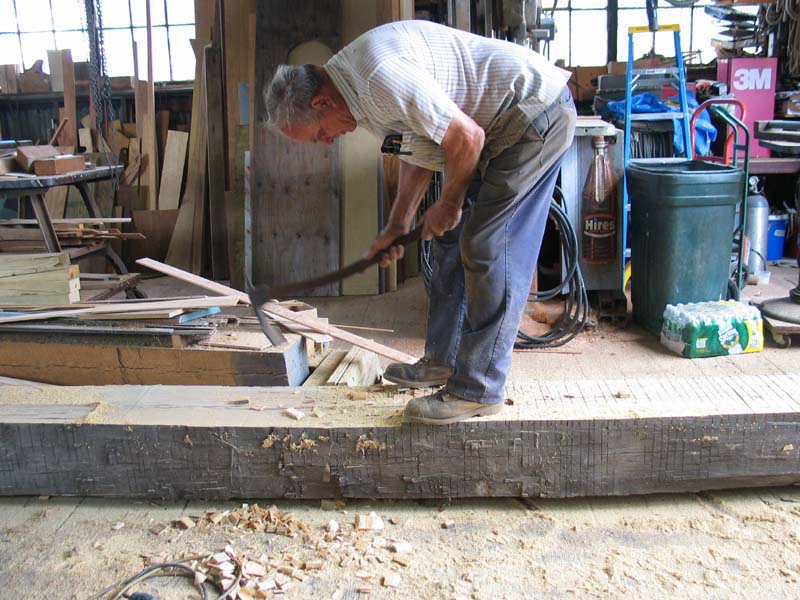
| It looks like if he's not careful with that adz there's gonna be some blood on his tools. You don't see many places that use adz's anymore, in fact, you don't find many people that even know what an adz is used for. |
 |
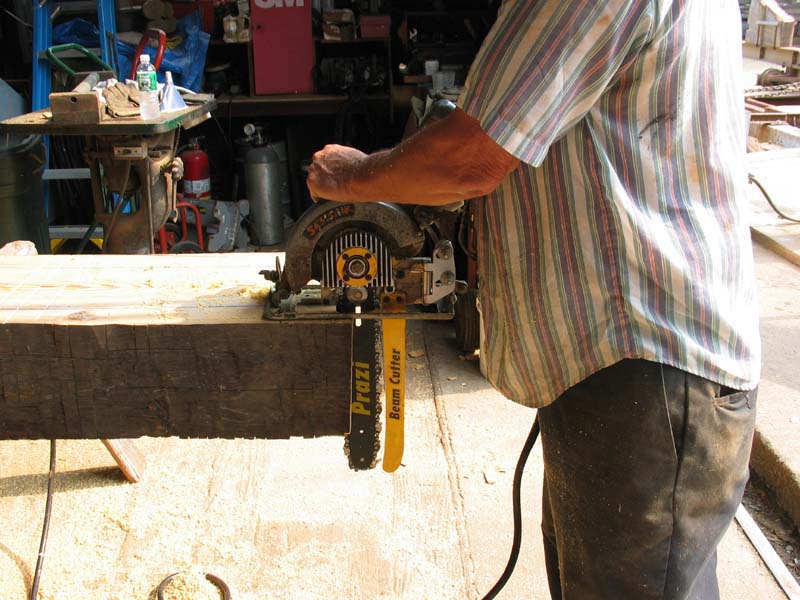 |
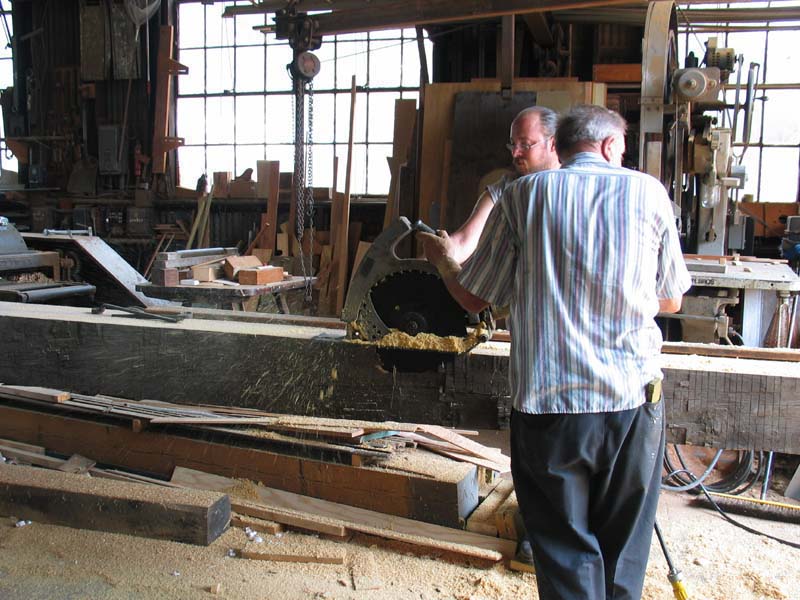
After one side is flat its time to cut the rest of the bowsprit out of this piece. We have quite a few big tools for cutting wood, this is one of them. Its an attachment for a skilsaw called a Prazi. We have both rip and crosscut chains for it, and it works much like a chain saw. |
| This is another of our big tools, a 17 inch circular saw. Its a monster! |
 |
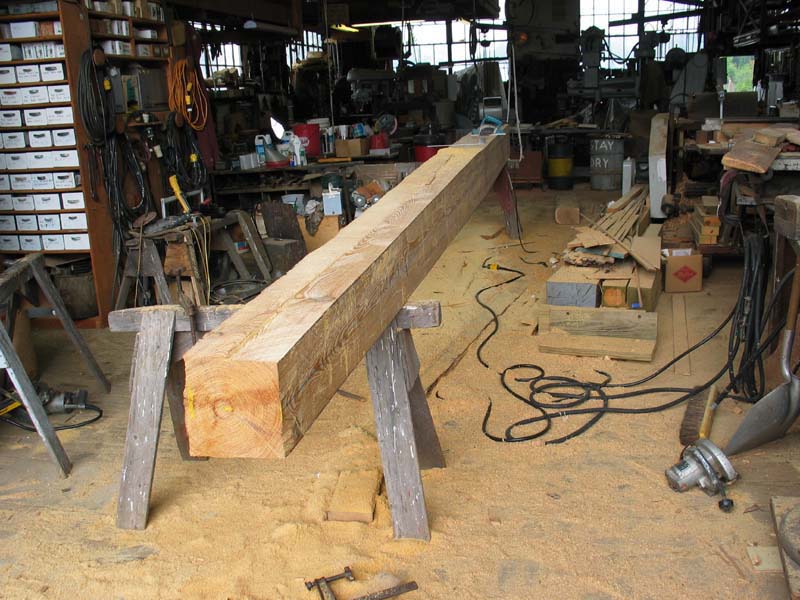 |
As the log gets smaller and more bowsprit shaped, the pile of sawdust on the floor gets deeper. Pretty soon we'll be wading in the stuff. Ahhh, the smell of sawdust in the morning. |
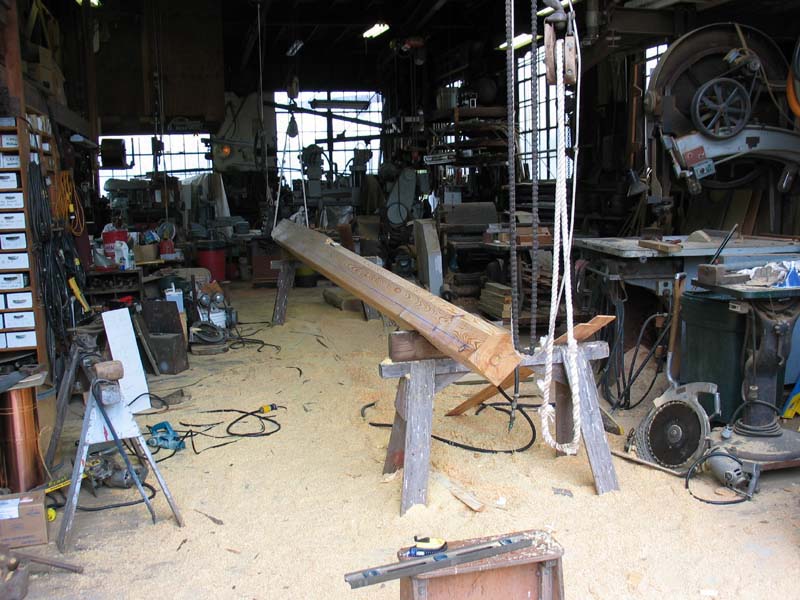
| A few more careful marks and its time to start cutting off the corners. You can see the slings Pop is using to roll it with. By lifting it with a rope sling hung in a pulley he was able to roll it from one side to the other with ease. |
 |
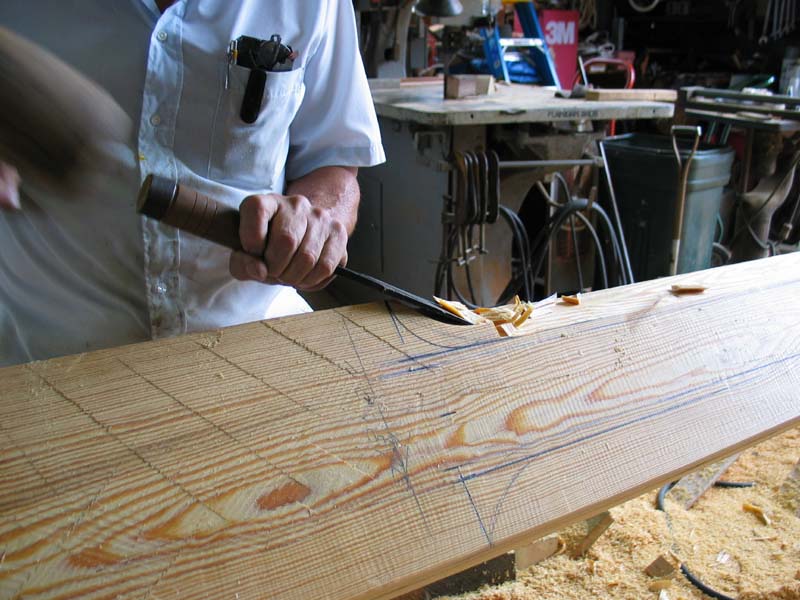 |
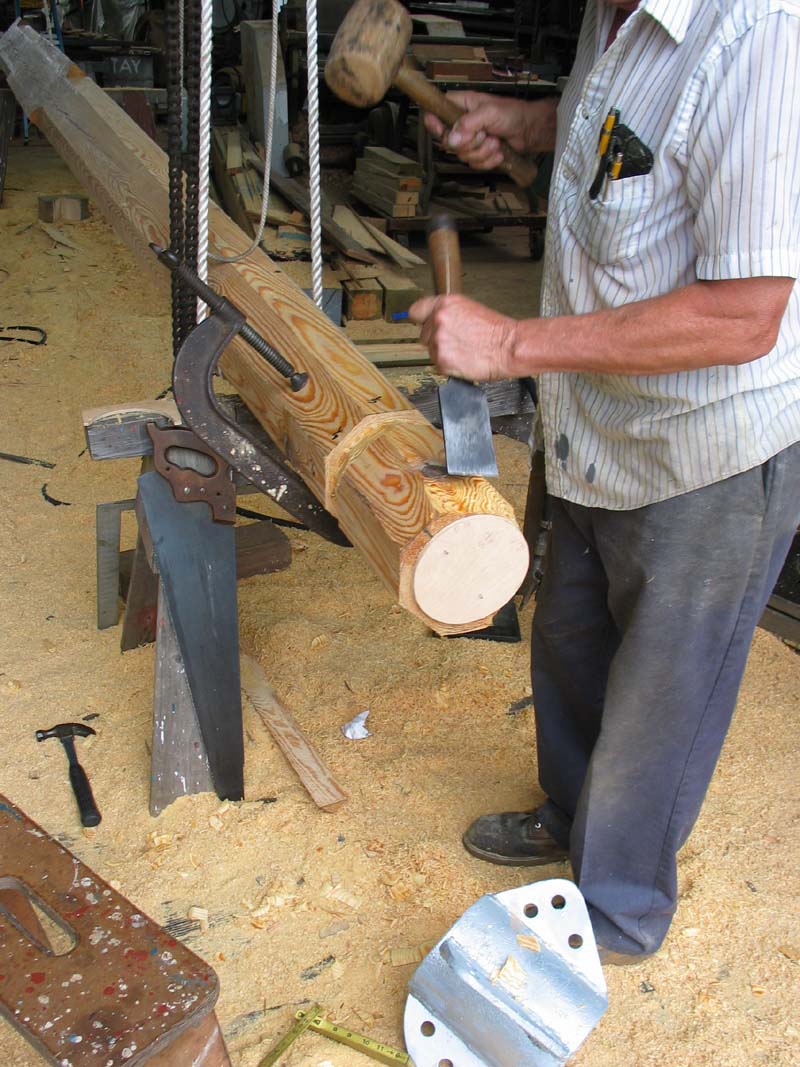
Even with all these power tools, there is nothing better for dressing something up than a chisel. |
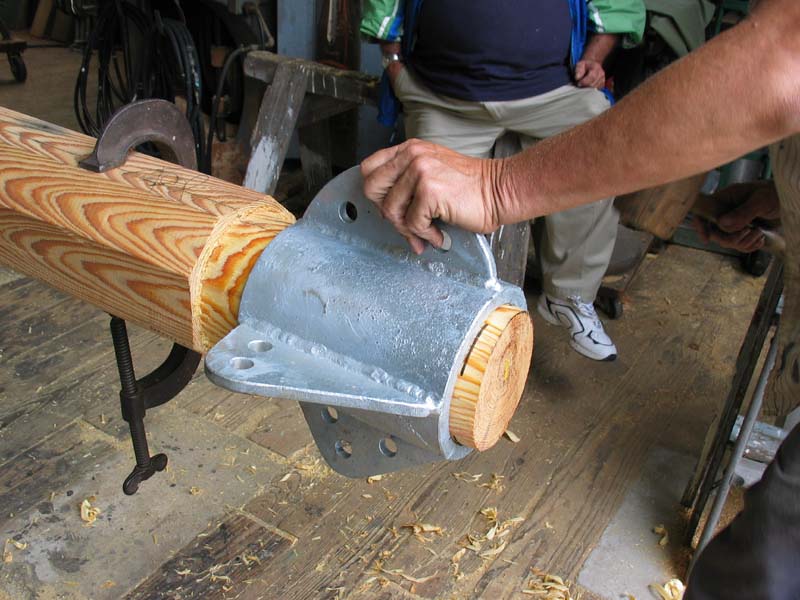
| On the forward end of the bowsprit we put a collar. This is where all the stays will be fastened to the bowsprit. The collar is tapered so that as the stays pull on it it will seat itself tighter onto the bowsprit. |
 |
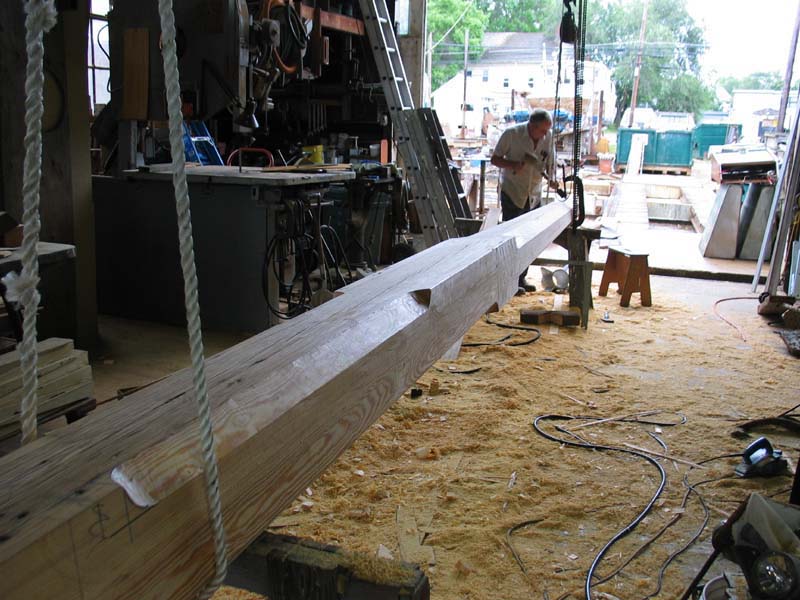 |
This is another view of the bowsprit taken at the same time. You can see the corners that were beveled off, the square places where the bowsprit will be in contact with the boat. |
| The bowsprit collar is fit now, just a bit more dressing up is left. |
 |
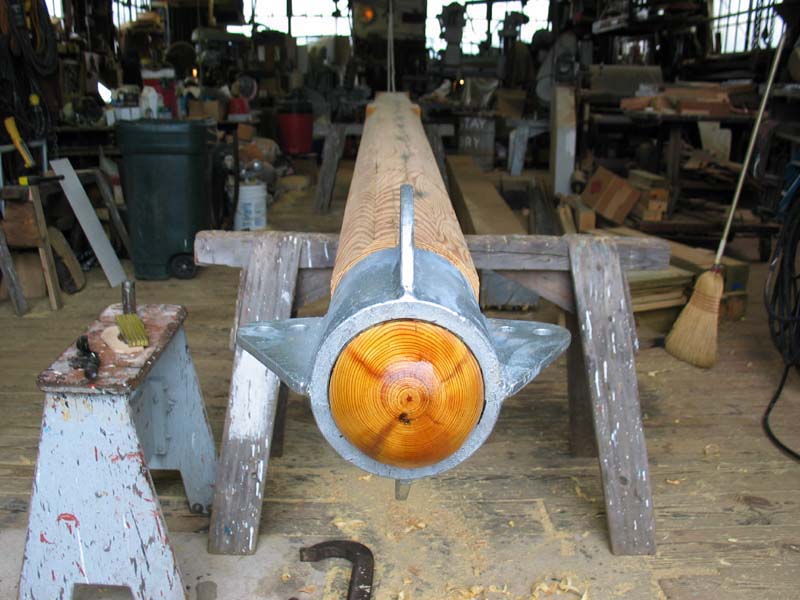 |
Here's a view from the end. This piece of pine has really nice grain. |
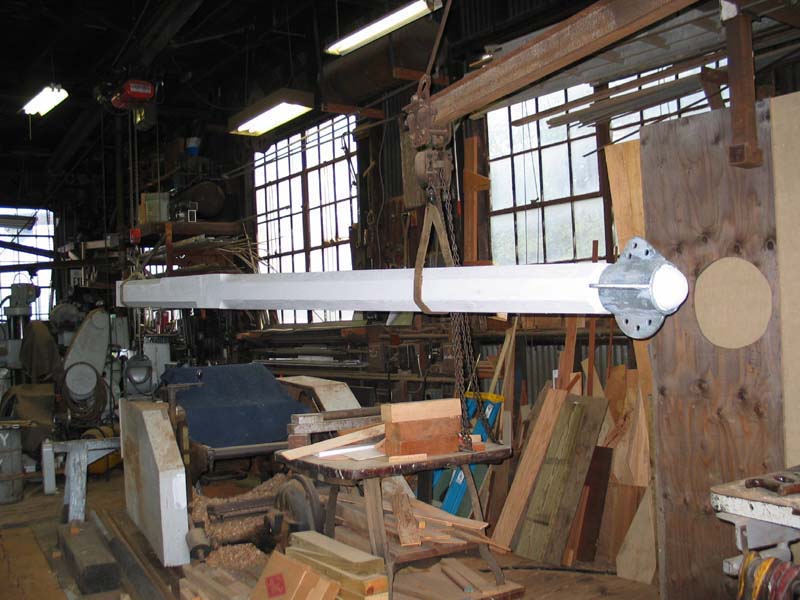
| After a couple coats of paint we hung the bowsprit up so it would be out of the way, sort of... |
 |
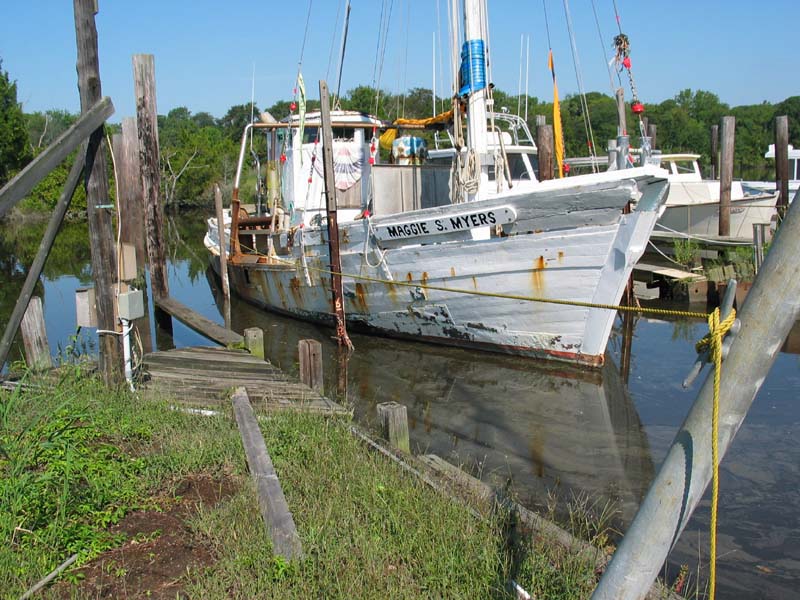 |
Now that we have the bowsprit made we can haul Maggie. She looks like she could use freshening up with a coat of paint. |
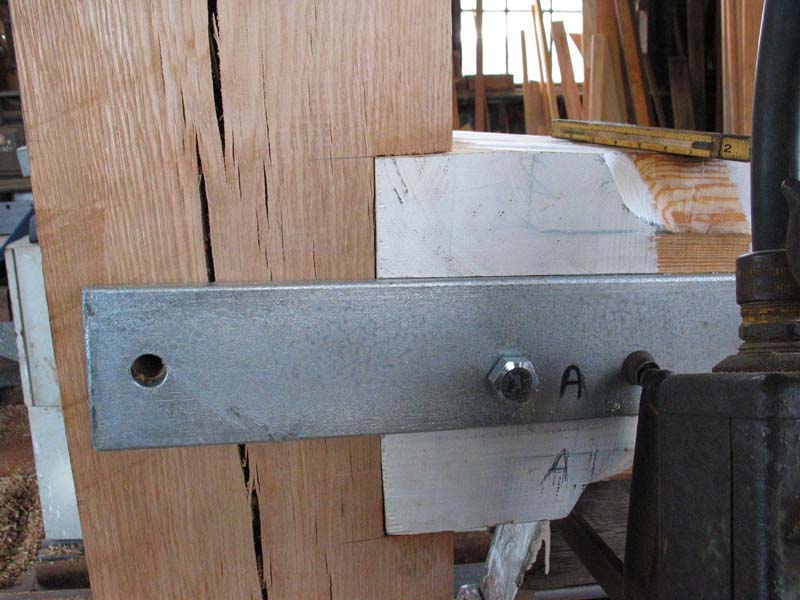
| After cutting a samson post out of white oak we joined it to the bowsprit. The bowsprit is let into the samson post which keeps it from moving up and down and galvanized plates keep it from moving from side to side. |
 |
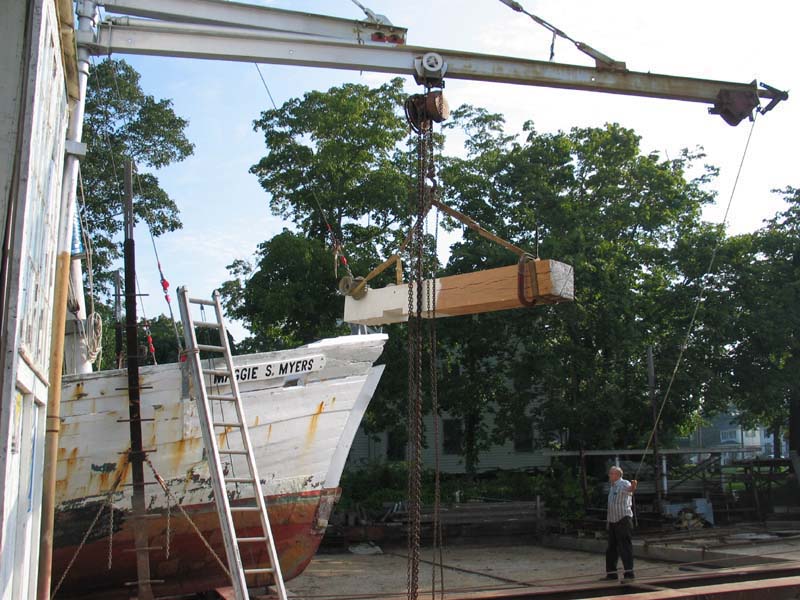 |
Its time to start putting parts on Maggie, the first is the samson post. Hoists make lifting so easy. |
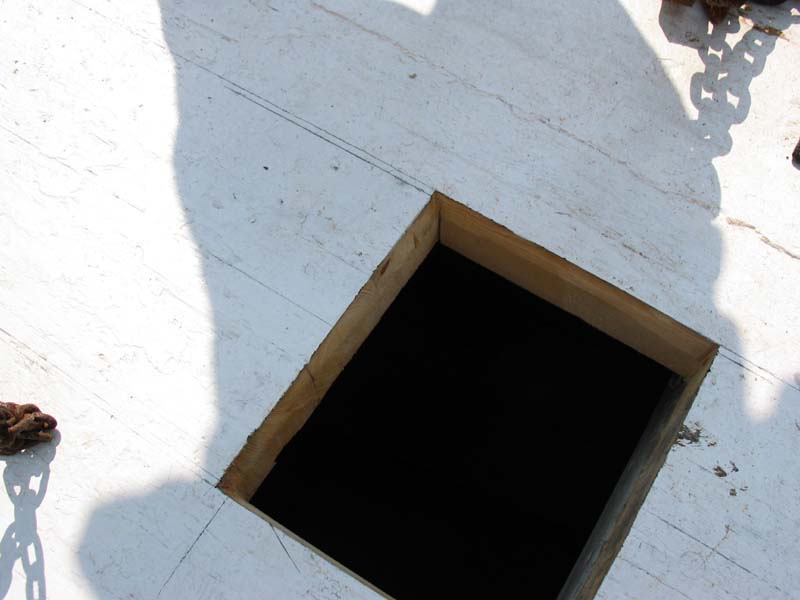
| After a bunch of figuring, we cut a hole in the deck for the samson post to go through. It will be fastened to the mast step at the bottom. |
 |
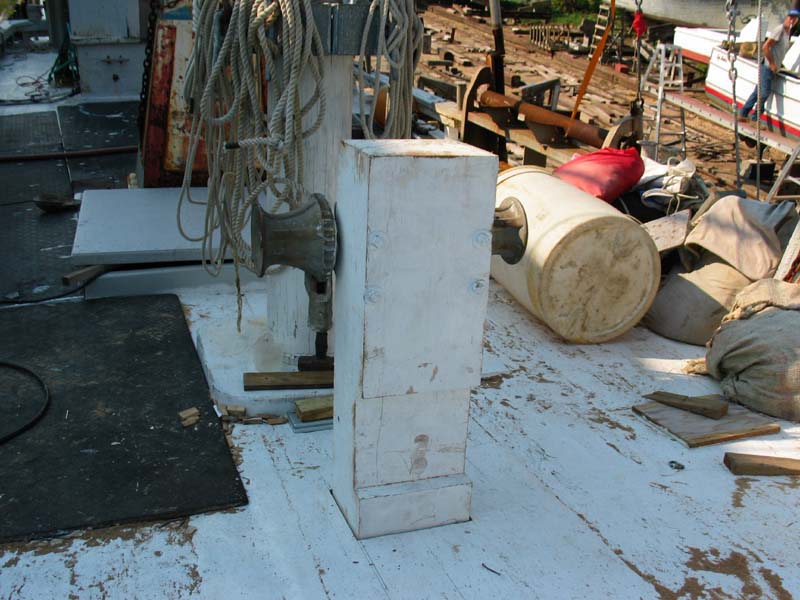 |
Here is the installed samson post. It also has a double winch on the top of it. Hand operated of course. |
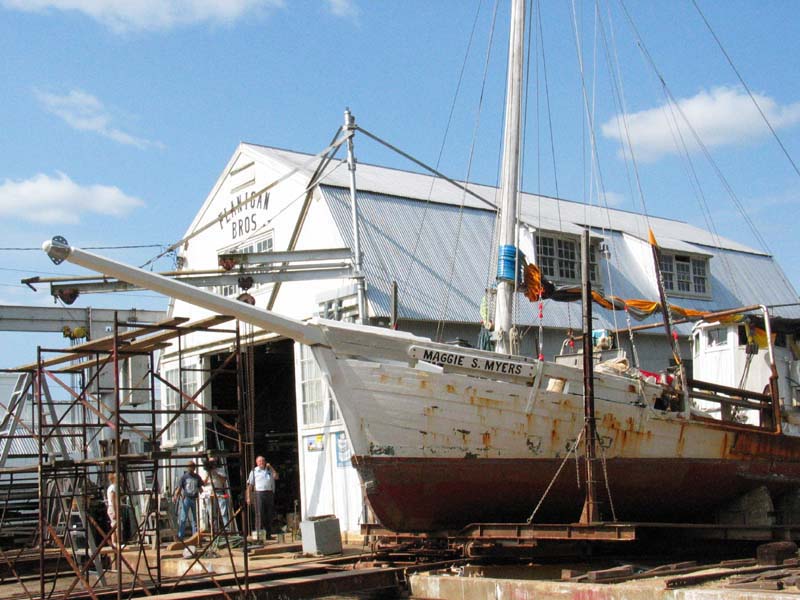
| The bowsprit fit! The first time! We don't have any pictures of it actually sliding through the hole in the stem because we were all busy. We let Maggie back down the rail way a bit and hoisted the bowsprit into place over where Maggie would be after we pulled her back up the railway. Then we very slowly pulled Maggie back up the rail, all the while checking and adjusting the position of the bowsprit. She slid right into place. Afterwards everyone stood around and said, "Ahhhh". |
 |
 |
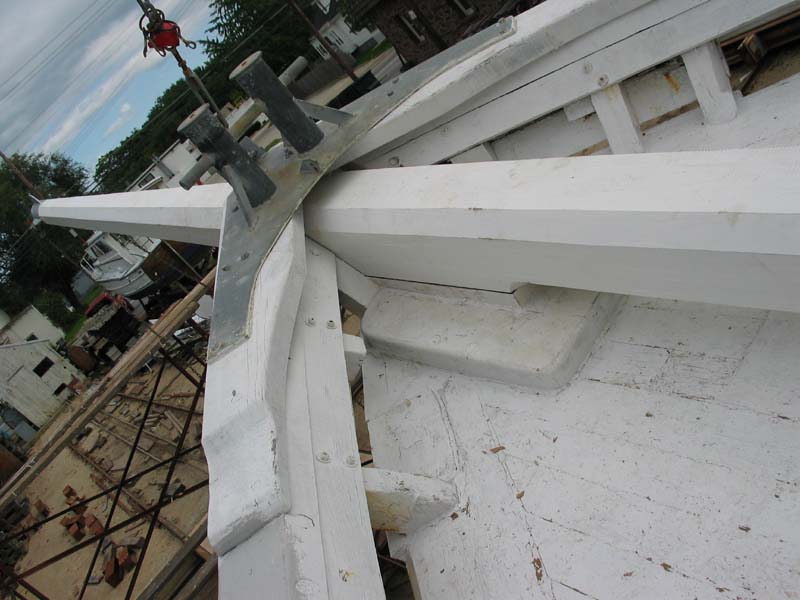
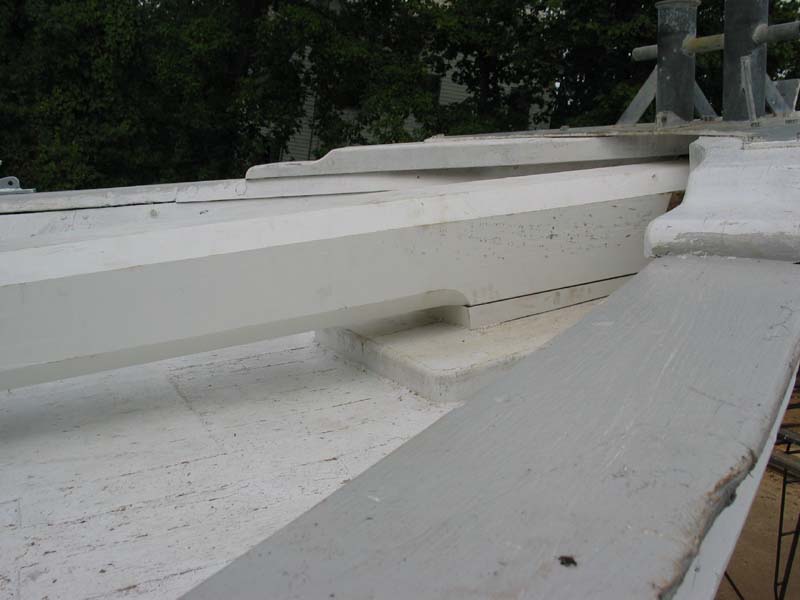
Now that the bowsprit is in place you can see the areas that we didn't bevel the corners. See how they sit on the boat? |
| All the weight of the bowsprit is being held by the deck and the samson post. Before Maggie leaves she needs stays to keep the bowsprit in place. |
 |
 |
One last picture of the bowsprit from the side. |
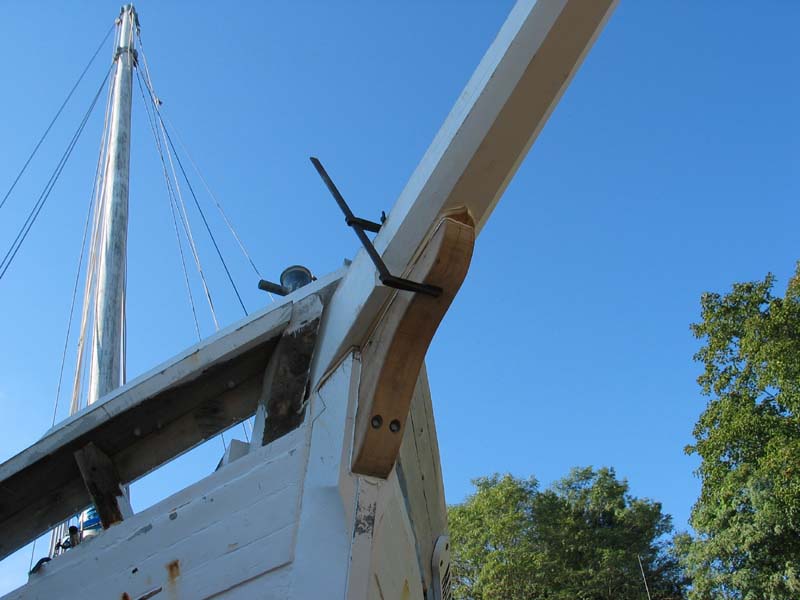
| You may remember, when we rebuilt the stem for Maggie, we made a knee to fasten the bowsprit with. That knee has been in storage ever since. Now its in place. Eventually there will be a figurehead fastened to it. Notice also that the planks above the deck have been removed. We are fixing some ribends, recaulking the covern board and replacing those planks. |
 |
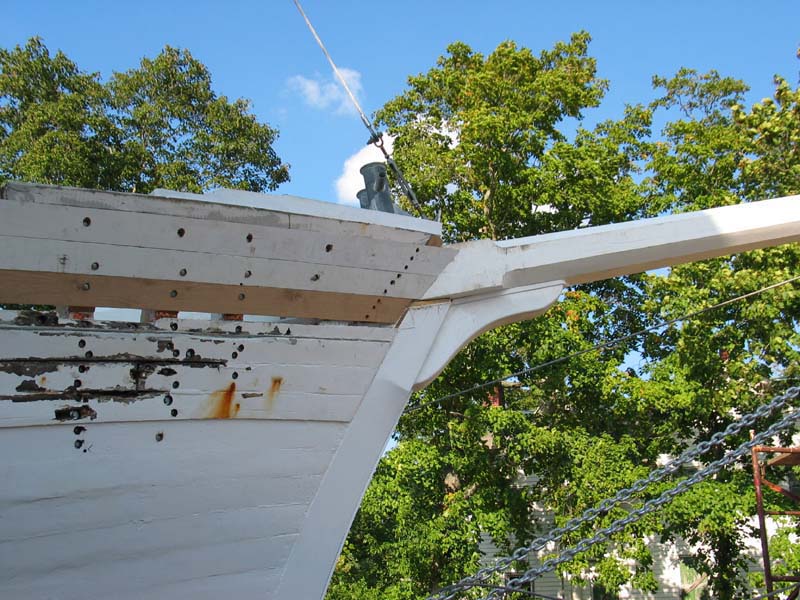 |
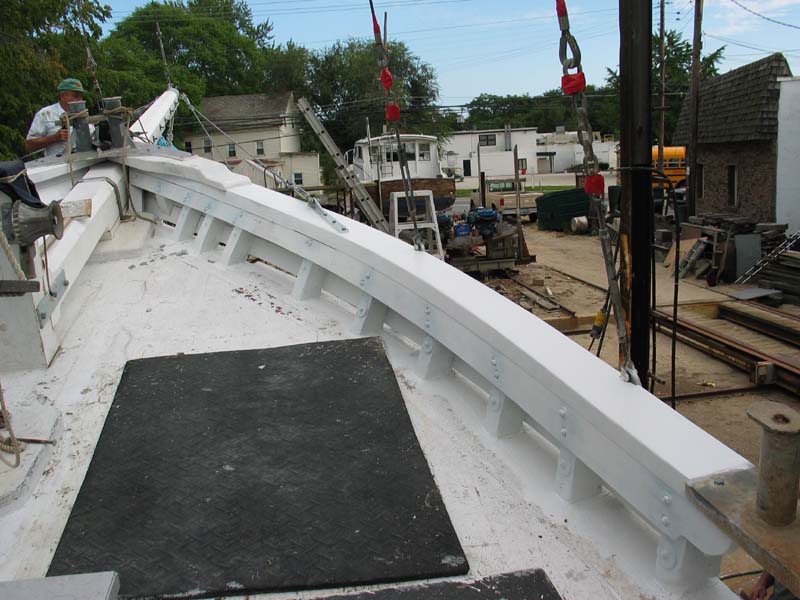
The new planks fit the stem and bowsprit like they are supposed to. |
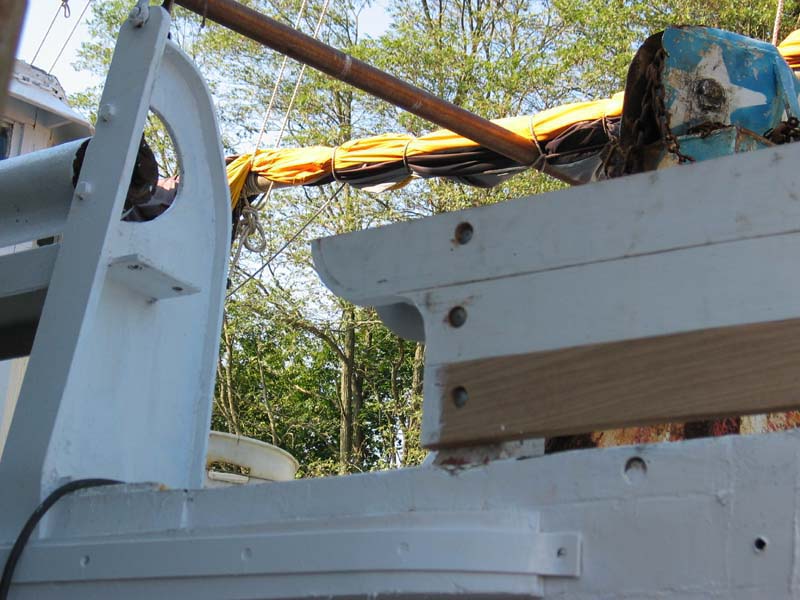
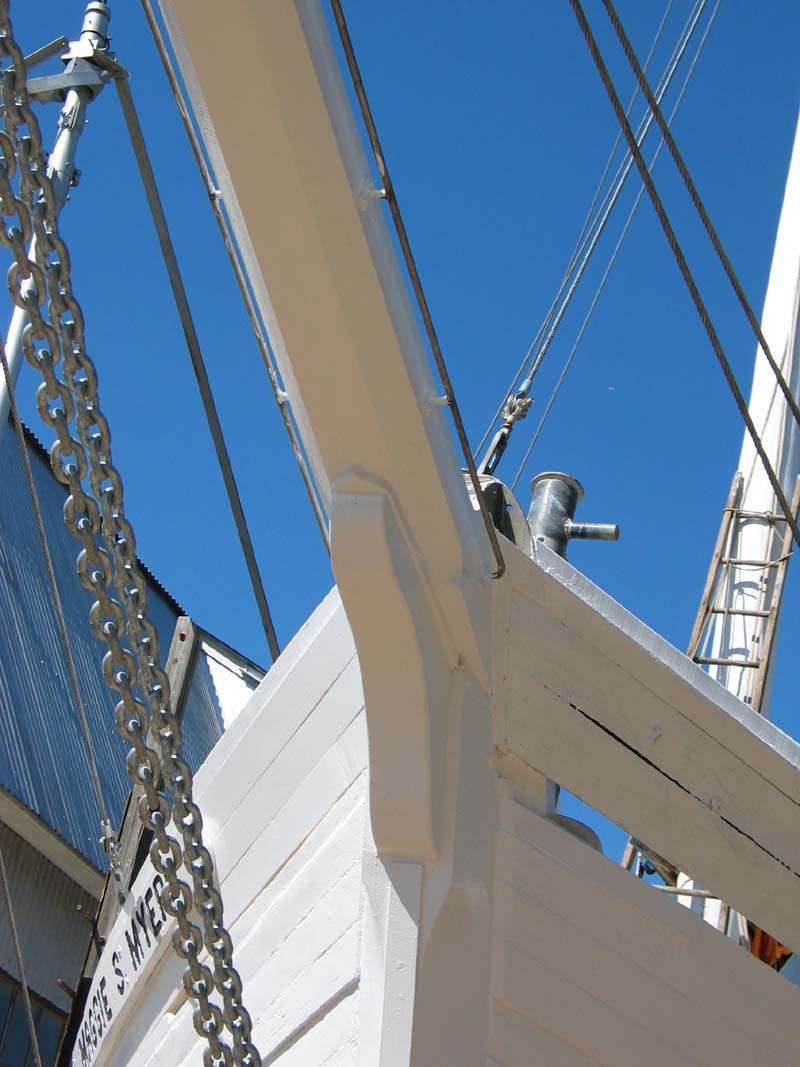
| A fancy curve here and there just sets things off don't you think? |
 |
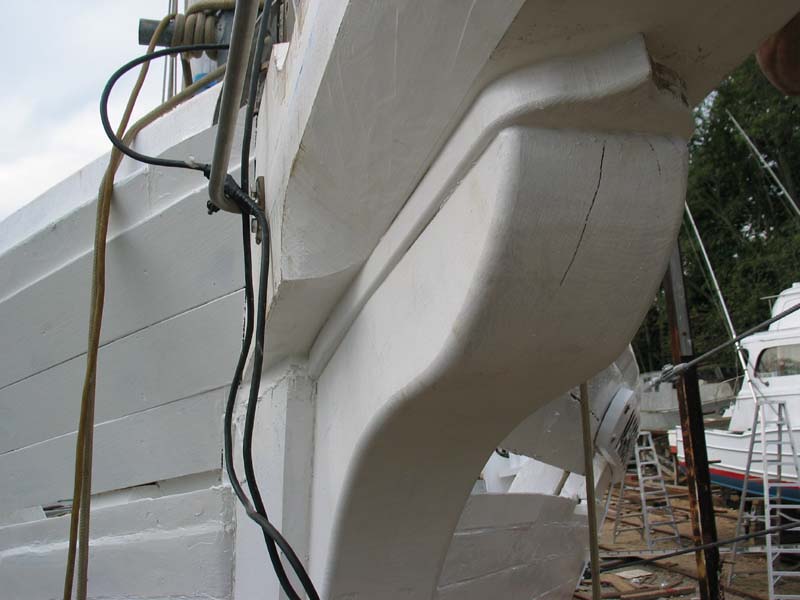 |
Here is a closeup of the knee. It came out pretty nice. |
| Here Don is closing up a few gaps around the bowsprit. You can see some of the stays are in place. |
 |
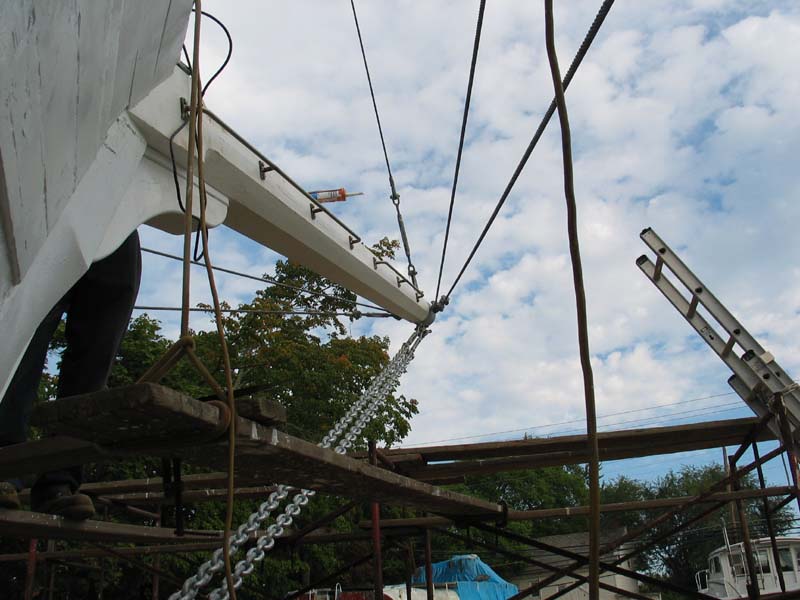 |
There are 5 stays on the bowsprit. Two go to each side and one goes to the top of the mast. The chains are attached to the bottom of the stem. The little rails along the side of the bowsprit are to attach a net. the net goes from the sprit to the outer stay and keeps people from falling into the water when they are walking out to the end of the bowsprit. |
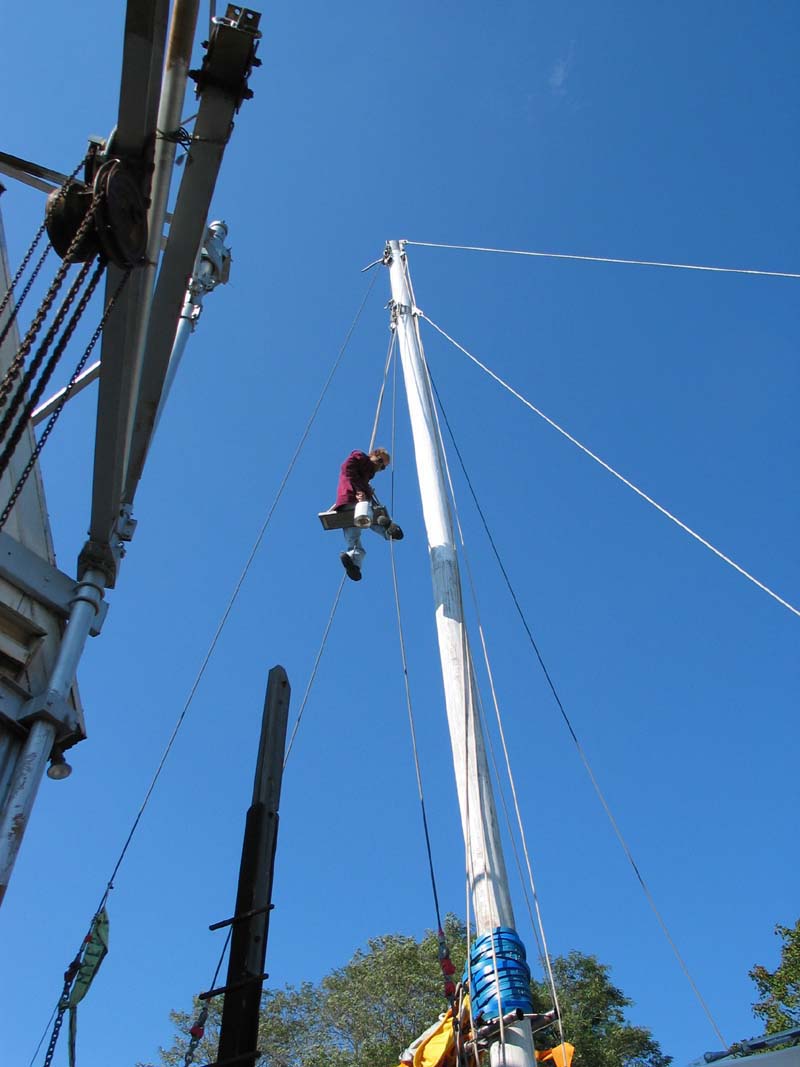
| The Mast got a fresh coat of paint by Thumper, and it needed it... |
 |
 |
One last picture while she is on land. |
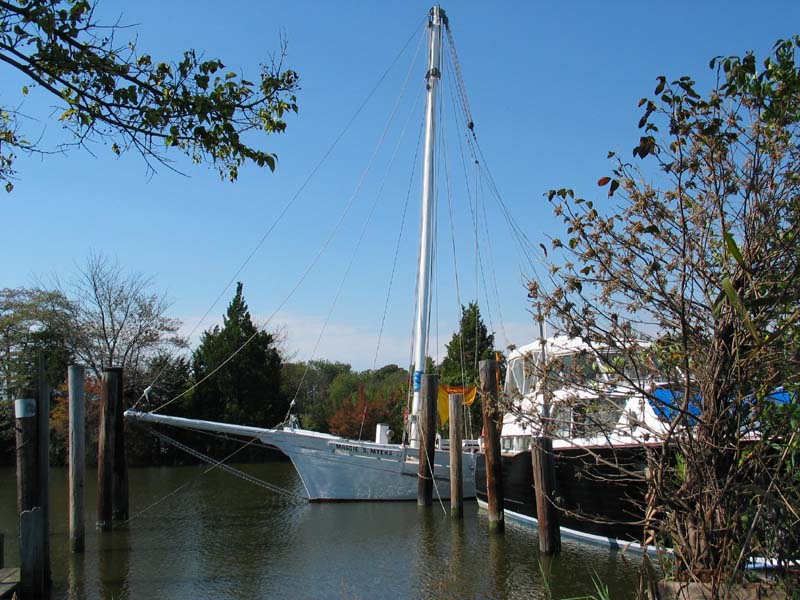
| Once in the water you can see the line of the bowsprit compared to the rest of the boat. She looks beautiful. |
 |
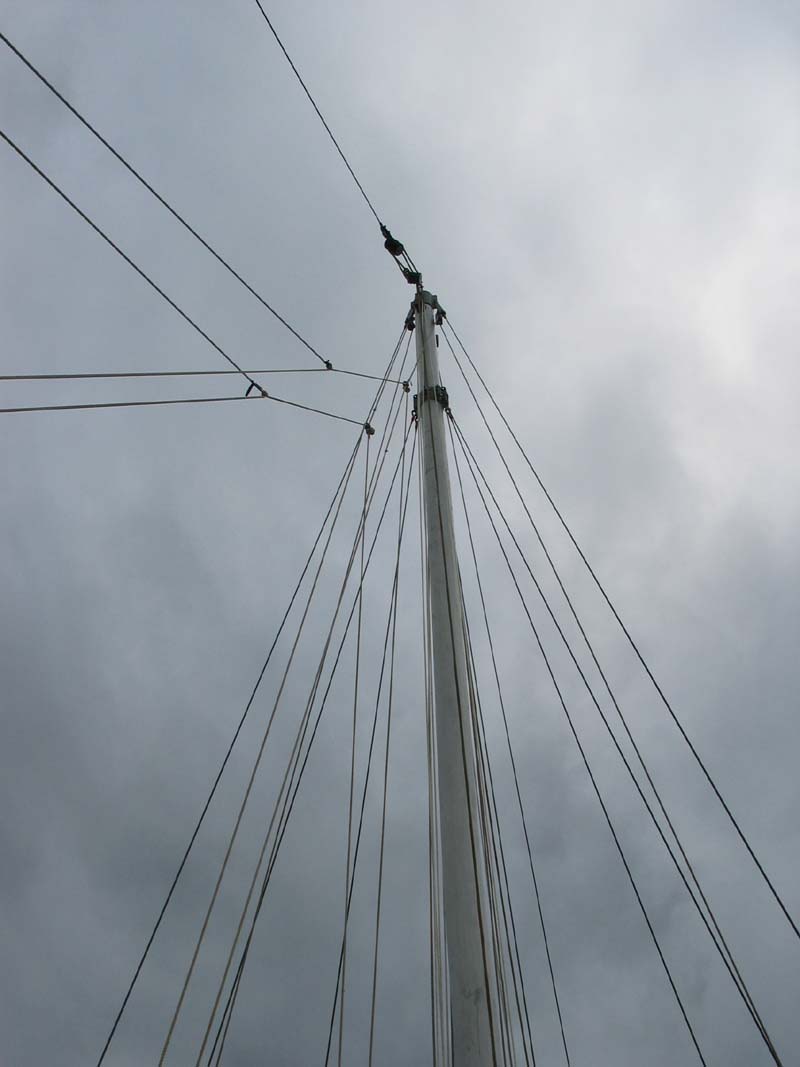 |
A cloudy day makes a perfect backdrop for some rigging atop the mast. |
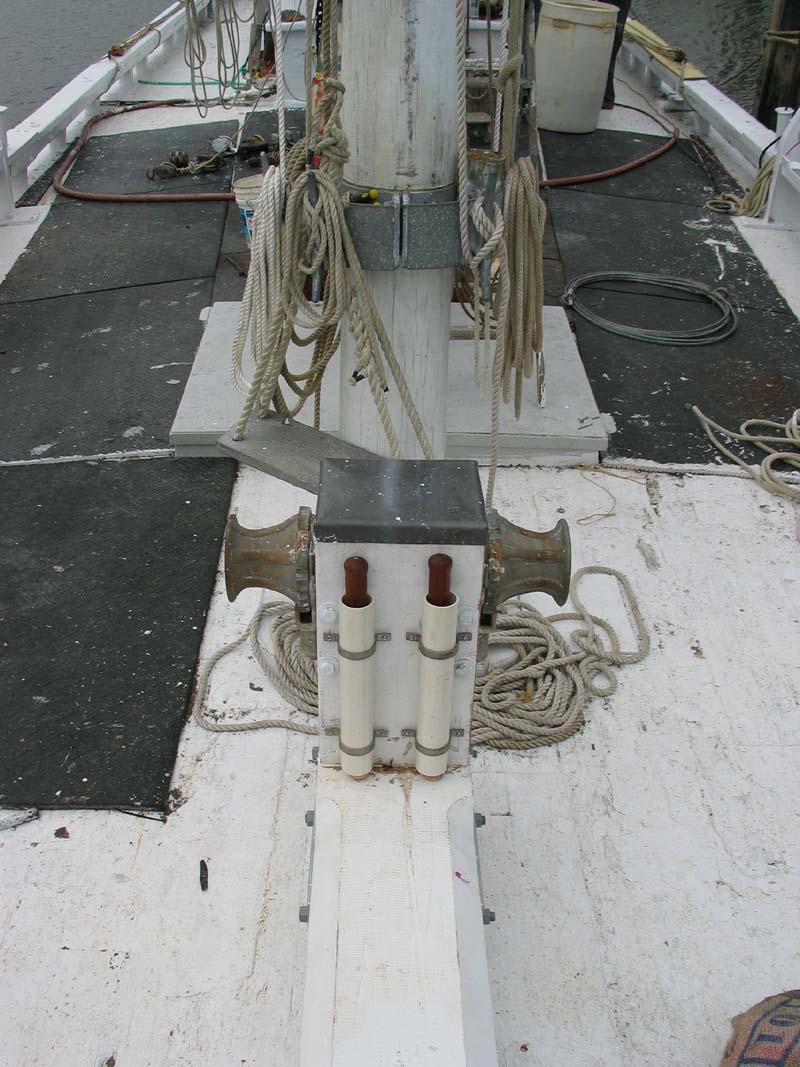
| We made Thumper a couple of mahogany handles to use for his winch. Just the right length so you won't hit your hand on that collar in the background. Perfect for cranking on the winch, and for beating the crew into shape! Then we hid them in front of the samson post. Out of the way, but always handy... |
 |
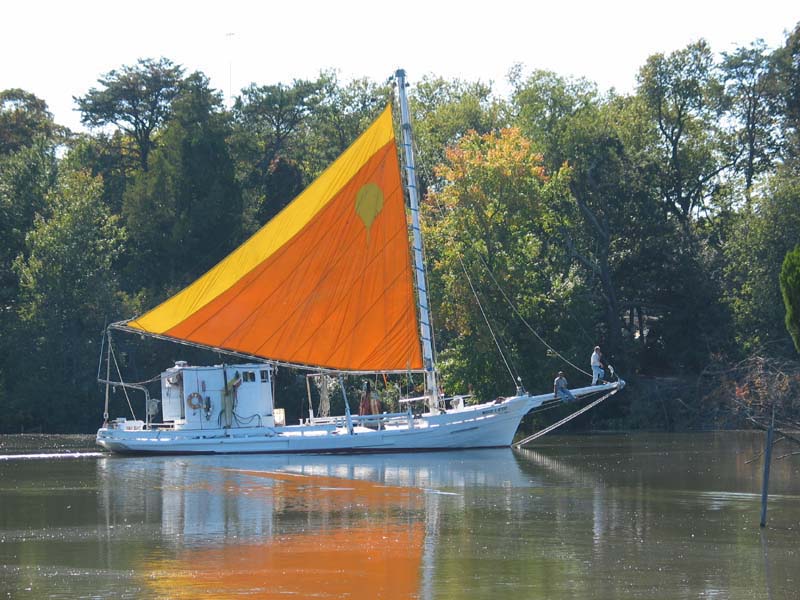 |
Off she goes to earn some more money for the next stage. Can you guess what it is from this picture? Notice the bottom of the sail and how it looks like the boom its attached to is bent? It is... One of the next stages is getting a real boom. Then Maggie should be able to really sail! A couple of extra notes. Notice how the crew immediately has to go sit on the bowsprit? And the blur up high on the sail, if you look closer, its a horseshoe crab. |